Ad Monetization: How to monetize a blog with Ads [$33+ per 1000 views]
Most bloggers start a blog to monetize it with Ads. Ads are best monetized on a blog.
Because Ads require a large user base to be consuming content. And amongst that content, ADs can be slid in. Almost all content is monetized by Ads.
All social platforms including Youtube, Instagram, Facebook, Linkedin, Pinterest, etc. have Ads.
How to monetize your blog with Ads [Step by Step]
But Ads work best in blogs. Because readers invest more time and focus going through a blog post than on a Youtube video or social media. In this article, you’ll learn how to monetize your blog with Ads. Keep reading.
How much can you make with Ads on a blog?
If you’re a new blog and want to get into Ad monetization, you need to begin with Google AdSense.
Because, unlike Google AdSense, the rest of the networks have minimum monthly traffic requirements [Some require your blog to have a minimum of 1000 visitors, and others 10,000].
Once you start getting a good amount of traffic [Over 10,000+], start working with the following networks, as they have higher commission rates [Than Google AdSense]:
Keep in mind, all the above Ad networks require your blog to have good standing with Google AdSense.
| Ad Network | Costs | Requirements | Commission rates [Per 1000 page views] |
|---|---|---|---|
| Mediavine | FREE | 50,000 Monthly Sessions | $35 – 40 |
| Monumetric | A $99 setup fee has under 70,000 monthly sessions. Else it’s FREE | 10,000 Monthly Sessions Ran on Blogger or WordPress Atleast 300 px wide sidebar 50% of traffic must be from the USA, Canada, UK, or Australia Must have a minimum of 6 Ads per page | $11 – $30 |
| Ezoic | FREE | 10,000 Monthly Sessions | $12 – $18 |
| Media.net | FREE | 0 | $5 |
| AdThrive | FREE | 100,000 Monthly Sessions | $11 – $33 |
Choose an Ad method and Ad network for your blog
The first step is to choose one of the 5 Ad monetization methods: PPC, PPV, CPA, Fixed, & selling Ad space.
PPC [Pay Per Click] Ad monetization
Pay per click [PPC] is a model where advertisers pay a fee each time their Ad is clicked on. For example, suppose you place an Ad on your blog, that is under the PPC model.
You will get a commission for every user that clicks on that Ad. All you do is display the Ad on your blog.
Note: PPC [Pay per click] and CPC [Cost per click] are the same. PPC is used for the sites that display the Ads and get paid.
And CPC is used for businesses that want to advertise and need to pay to do so.
PPV [Pay Per View] Ad Monetization
Pay per view [PPV] is a model where advertisers pay for each view of their Ad. They pay for each Ad impression.
So, in this model, all the users need to do is look at the Ad [They don’t have to even take any actions with the Ad], and you’ll get paid.
Note: PPV [Pay per view] and CPV [Cost per view] is the same. The term PPV is used by sites that display Ads and get paid. And CPC is used by businesses that pay for advertising. Another term, CPM is also used and stands for Cost Per 1000 Impressions.
CPA
CPA stands for Cost Per Action and is the cost for certain actions a user takes with respect to an Ad.
Whether it is clicking on the Ad. Or, further actions after clicking all fall under the pricing method of CPA.
CPA also stands for Cost Per Acquisition which is the cost of acquiring a single customer
FIXED
You can even be paid with fixed rates for Ads. For example, you can get paid $100 to showcase an Ad for a week on your blog.
Paid reviews are another example. Often, you’ll find blogs writing about certain products and or services in depth.
They could be doing affiliate marketing.
Or, that product/ service company could have paid them a fixed amount to create a review article on them [A sponsorship].
Sell advertising space on your blog
Lastly, it sells Ad space. Your blog will have a ton of white space. Especially on the sides.
Instead of you searching for Ad networks to find Ads and choosing where to place them on your blog, sell the space instead.
The following two are Ad networks that do just that:
- BuySellAds
- BlogAds
You can simply sell the open space on your blog like real estate on these platforms.
If an advertiser is interested, they’ll buy that space and you can then place their Ad there.
Sign up and wait for approval
Once you have decided on which Ad network and Ad method you’ll choose to use, sign up and wait for the approval.
The signup process will include providing necessary information like
- Blog URL
- Niche
- Monthly search volume
Approval from these platforms can take time. It may take a few days, or it could take weeks.
Keep in mind, there is no guarantee you’ll be approved.
Increase the chance of approval
Here are the steps you can take prior to signing up to increase your chances of approval:
- Write a minimum of 20 blog posts
- SEO optimize them
- Keep topical authority in mind, and link them internally
- Make them information heavy [Cut any bluff out; Include raw data and statistics]
- Include multimedia
- The content must be unique [No copycat content]
- Create all legal pages, such as Privacy Policy, Disclaimer, Terms of use/ service
- Have easy navigation on your blog
Choose the location of the Ad
In this step, you need to determine where you are willing to display Ads on your blog:
Sidebar – The most common place to display Ads
Popup – Have your Ad as a popup.
Header – Have a banner strip above or below your main header where you can display the Ads.
Footer – Same as the header, you can have a banner strip displaying Ads.
Ads within the blog post – You can break the content with Ads in between [Second most common place to display Ads].
Text links – You can have text based Ads within the blog post content itself. Platforms like Linkworth provide text based links. When the user clicks the link, they are redirected to the site or landing page where the advertisement occurs.
Paid reviews – Paid reviews are where the entire blog post works as an advertisement.
Platforms like PayU2Blog provide you with businesses that are willing to pay in return for a blog post review [Advertisement].
Place the Ad code snippet on your blog
If you’re working with Google AdSense, it’s a simple copypaste of the code and placing it within the body part of the content.
Check out their simple guide on Where to place the Ad code in your HTML.
The same concept applies to whichever Ad network you work with. They will provide easy to follow instructions.
But, in general, you will either be provided with a code snippet that you need to paste into the HTML section of your blog’s code.
Or they’ll have an automatic setup in place [Far easier].
Avoid the following mistakes when working with Ads
Here are 3 mistakes you want to avoid when working with Ads:
Use Ads within your blog articles sparingly.
Remember, an excess amount of Ads will ruin the user experience.
And, it will make your site look like spam. Stick to only displaying 1 – 2 Ads or you risk triggering your readers.
Make sure your readers can close all Ads if they want to.
There should always be a bold, easy to see, cross icon that readers can click on to close the Ad.
If there isn’t, and it’s affecting them, they will bounce off.
Avoid using multiple anchor Ads.
If you’re using anchor Ads, stick to displaying only 1 anchor Ad.
And, make sure there is a close icon they can click on to get rid of it.
Many anchor Ads can be closed by swiping them right or left.
But most users aren’t aware of this. And since there isn’t a close icon, the Ad remains there and continues irritating them to the point where they bounce off.
Here’s a quick walkthrough for how to sign up with Google Adsense [The process will be relatively similar for the rest of the platforms]:
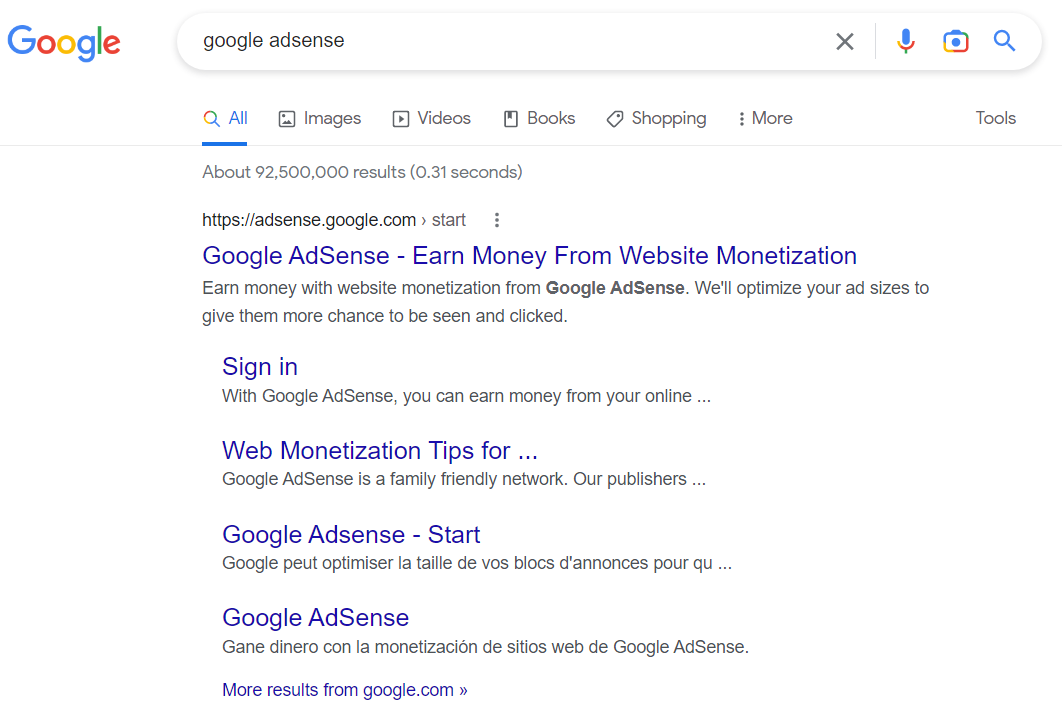
- Go to Google AdSense
On Google, search and click on Google AdSense

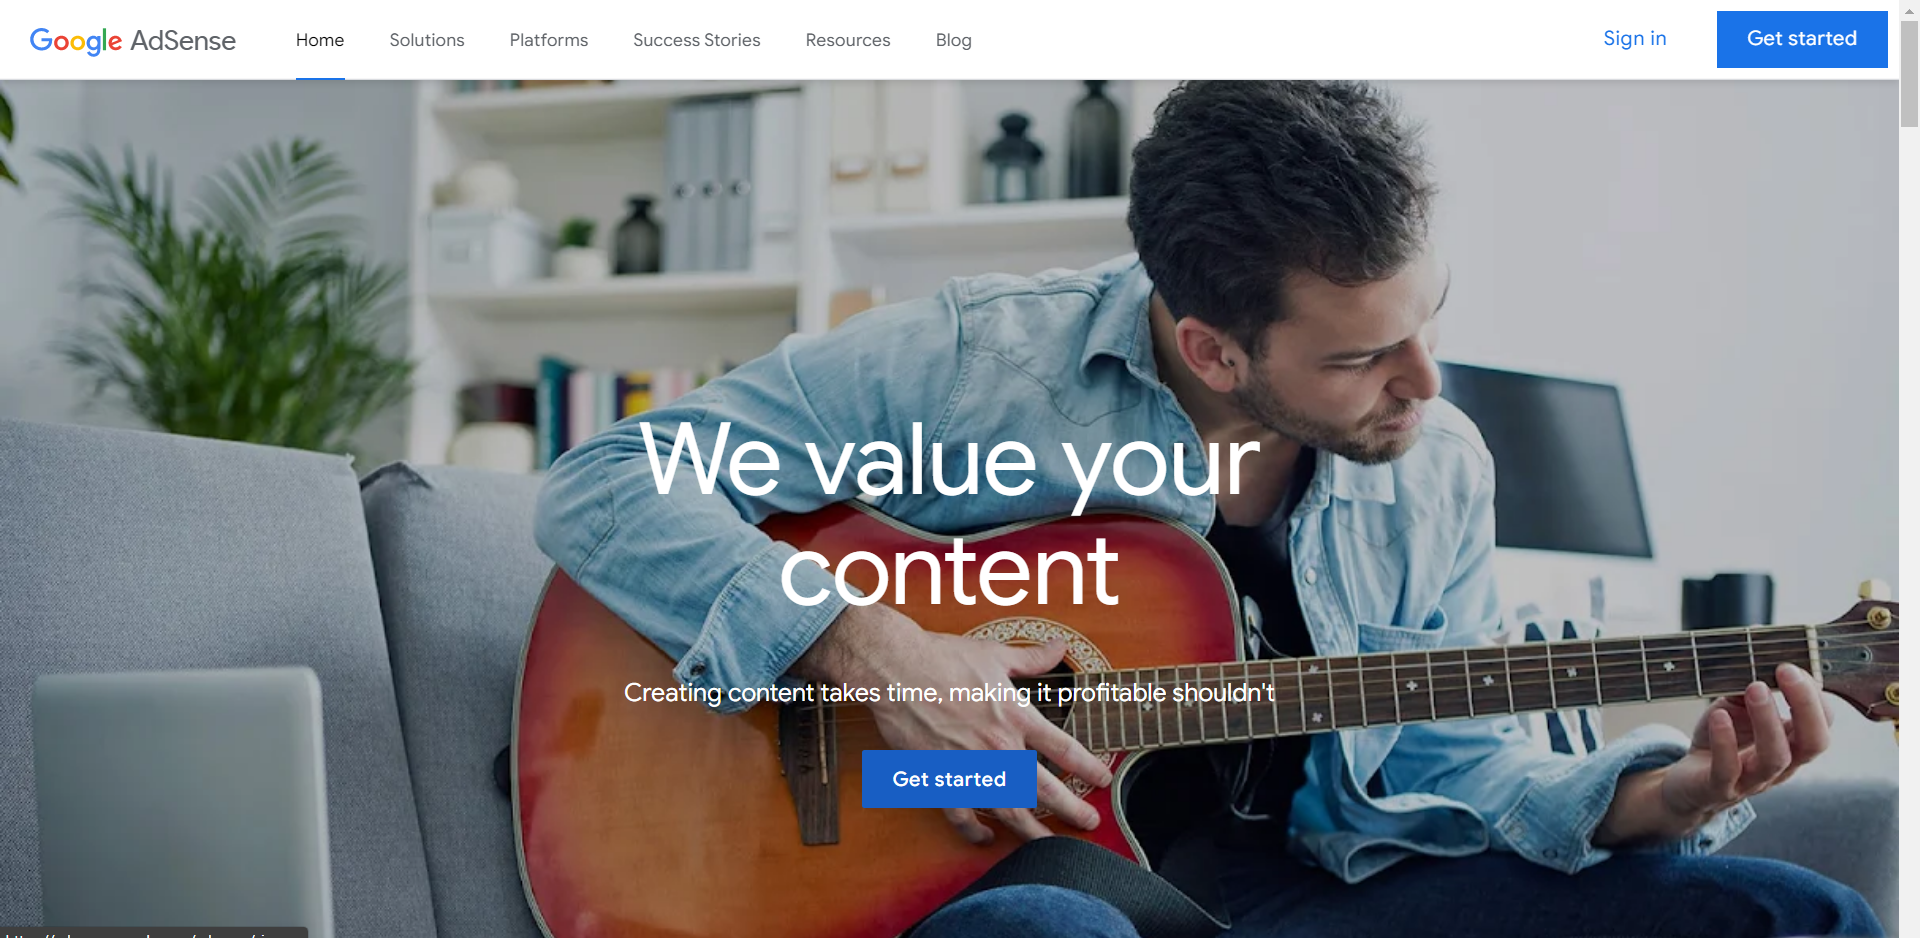
- Click on Get Started
On the Google AdSense page, click on the “Get Started” button

- Sign In
It will then ask you to sign in with your email and password
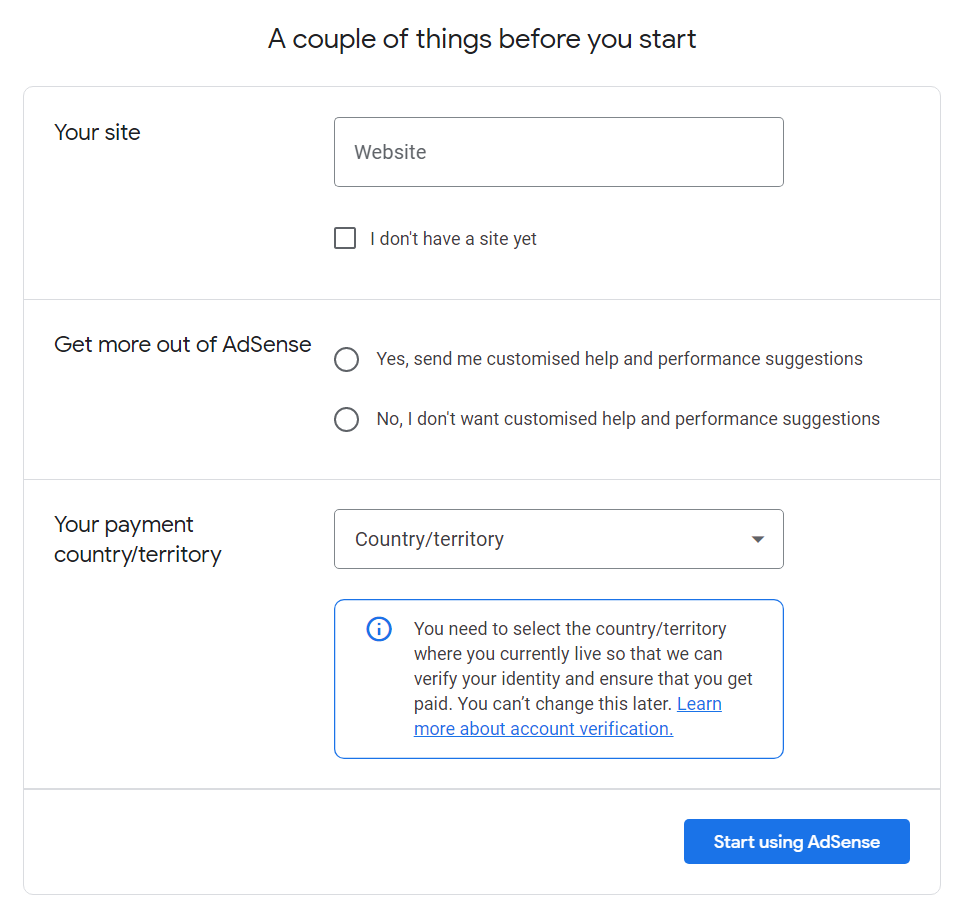
- Submit information
You will then have to submit your site URL; Select Yes or No for whether you want customized help and performance suggestions; Then enter the country/ territory where you’ll be paying from; Lastly, read through and accept their terms and conditions.